NEW TUTORIAL BIPOLAR

New Tutorial - BIPOLAR
No materials to download for this one
you will need a poser or tube
and a mist or floral
Filters used:
AAAFrames
Toadies - What Are You
Mura Meister - Perspective Tiling
Simple - Blintz, Center Tile, & Pizza Slice Mirror
Eye Candy - Impact - Glass
Materials Palette
Forground 0c4764
Background 5ba7b5
(adjust to your own colors for your tube)
THE TUTORIAL
1. open anew transparent image 1024 x 600
2. in your materials palette make the following gradient

3. flood fill your canvas
4. Layer duplicate
5. Effects - Simple - Blintz
6. Effects - Simple- Center Tile
put this layer in overlay mode
7. On you bottom layer
Effects - Simple - Pizza Slice Mirror
put this layer in hard light mode
8. On the top of your layer palette
Layer - New raster Layer
with your selection tool make a custom slection
top 0, left 910, bottom 600, right 930
9. in your materials palette make the following gradient

10. Fill the selection with the gradient
adjust sharpness sharpen
apply a drop shadow of your choice
select none
11. Layer Duplicate
12. Effects - Toadies - What Are You

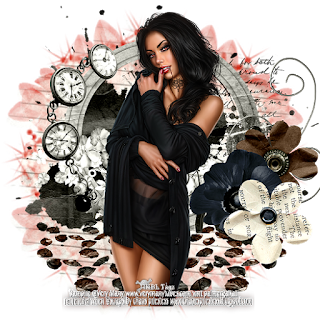
13. Layers - Merge Down
13. Make another custom selection
top 190, left 0, bottom 410, right 1064
14. Flood fill with white
15. Modify contract 1px
16. Flood fill with background color
17. Select none
18. Add a drop shadow of your choice and place this layer in overlay mode
19. On your next to bottom layer using the preset shape tool and find CHAT-FTP-14
Draw out a diamond over the diamond on your canvas on the top right side. Dont worry if it is not in place. Click anything on your toolbar to delect it. At this point you can adjust the color or float/defloat it and color it as you wish. Convert to a raster layer and get rid of the vector layer. And move it into place over your diamond.
20. With your magic wand click in the middle of the diamond.
21. Layer - New Raster Layer
22. Fill the diamond with your light color. edit copy and edit paste into selection as mist or floral of your own choosing.
23. Effects - Eye Candy Impact - Glass (default)
24. Select None
25. Layers - Arrange Move Down
26. On the upper layer merge down.
27. LAyer Duplicate
28. Image - Mirror
29. Layer merge down 2 times
30. Layer Duplicate
31. Effects - Mura Meister - Perspective Tiling

32. With your move tool slide down and put in place as a floor under the center rectangle as shown
33. MAke anoter Custom selection
top 400, left 0, bottom 410, right 1024
34. Flood fill with your dark color
35. Select None
36. Add a drop shadow of choosing then put this layer on top of your bottom layer
37. At this point you can add any decorations that you like and your main poser tube, play with it and make it your own.
38. Image add border - 1 px white
39. EDIT - COPY
40. add border 45 px your dark color
41. pick this border with your magic wand.
42. Edit - paste into selection
43. Adjust motion Blur

44, effects - AAA Frames - Frame Works

45. Selection - Invert
46. Add a drop shadow x2

47. Select None
And You Are Finished...Congrats!!!!!!!
I love to see what you guys d o with my tuts, feel free to email me your creations at palmergalkat@yahoo.com
HAPPY NEW YEAR!!!!!


Comments
Post a Comment