TUTORIAL - WITCHY WOMAN

SUPPLIES NEEDED:
A poser tube of you choice
(i used witch woman from PSP Project which is now defunct and is copyrighted and so not included in this zip)
Mist- Paysage automme jewel 005
OBG Ornament 12
Font - Kingthing pique n meex
Smart-Mask-12
SUPPLIES HERE: WW Supplies
FILTERS NEEDED:
Simple - Blintz
Ap (Silverlines) - line optional vertical
Mura Meister - pole transform
Mura Meister - perspective tiling
Itallian Editors - picture in a picture
Set Color Palette:
Foreground: cf856c
background: ebae1p
THE TUTORIAL;
1. Open New Transparent Image 1024x600
2. Flood fill foreground (dark)
3. Flood fill background (light)
4. Layer - New mask layer - mask from disk

5. Edge effects - enhance more x 2
Merge group
add a drop shadow

put this layer in soft light mode
6. activate bottom layer and duplicate
7. selections - select all
open your mist (on mine I mirrored before copy)
edit - cop
edit - paste as new layer
Layer Duplicate
8. Adjust - radial blur

9. Layer duplicate
image mirror image flip
opacity to 50 %
merge down
10. Simple - Blintz
effects - edgeffects - enhance more
11. AP - Silverlines - Lines Options - vertical (Default)

12. Active bottom layer - duplicate
13. mura meister - Pole Transform
14. Layer Duplicate
Mura Meister - Perspective tiling

Layers Arrange - Bring to the top
15. Activate top layer
Open OBG Ornanment
edit - copy
edit - paste as new layer
put this layer in lighten mode and opacity at 54
Layers merge all flatten
16. If all goes well this is what you should have

17. Image add borders
1px dark
1px light
1 px dark
40 px white
18. with themagic wand select the white border
19. create a gradient in colors palette

20. Flood fill with gradient
21. Itallian editors - Picture in a picture

22. Selection Invert
23. add drop shadow
24. Select None
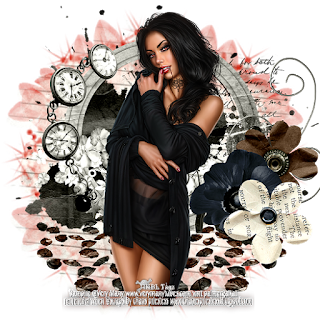
25. Add your tube and any decorations you wish
26. With your font tool
kingthings and font size 22 type
"Witchy Woman"
stretch out to your liking and place where you want
27. Adjust - Sharpen more
28. Add Drop Shadow
29. Add Borders
1px dark
1px light
1px dark
30.. Add your name and resize to your liking
DONE!!!!!!


Comments
Post a Comment